
AUTOMOBILE
Essential Modifications for Overlanding Rigs

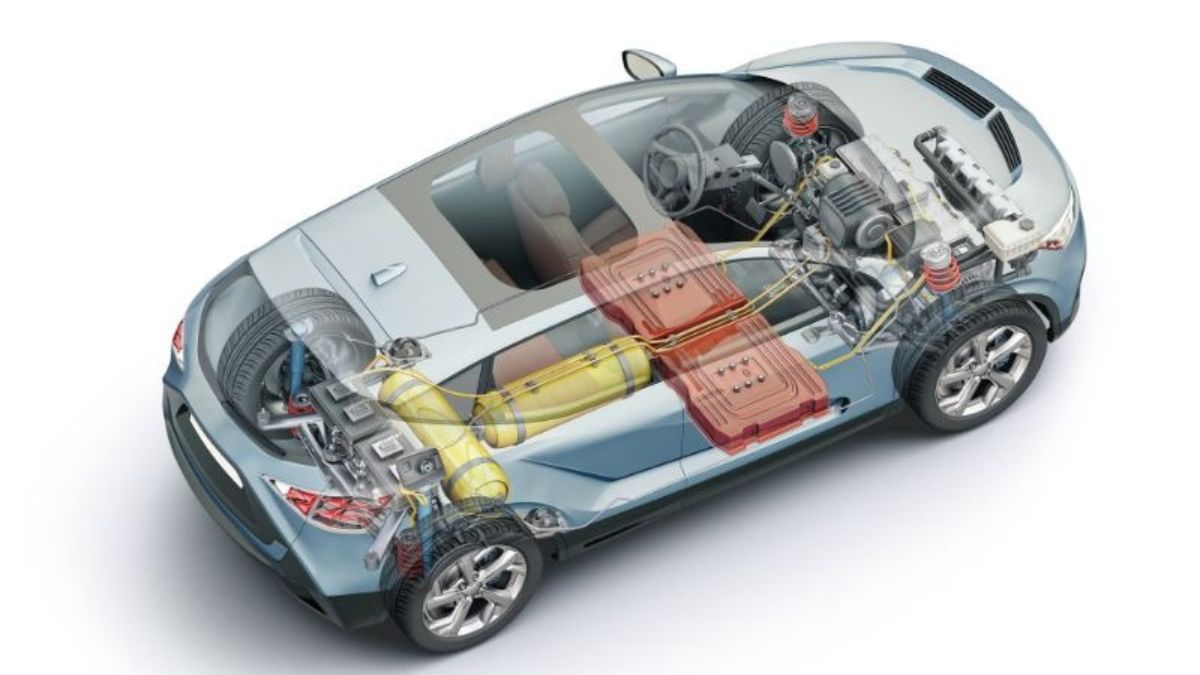
Most overland builds follow the same progression: lift kit, bigger tires, roof rack, recovery boards bolted to the sides. It looks the part. Then you hit your first serious trail — extended washboard, a rocky river crossing, two hundred kilometers from the nearest town — and you find out fast which parts of that build actually mattered.
The difference between a capable overland rig and a well-decorated truck comes down to a handful of decisions most guides skip over. Not which brand of recovery board photographs best, but whether your suspension is matched to your actual loaded weight, whether your track width gives you a fighting chance on cambered mountain roads, and whether your steering linkage can handle the abuse that dirt roads will put on it for weeks at a time.
Here’s what those modifications actually look like — and what to prioritize if you’re building or upgrading a rig for real-world use.
Suspension: match the load, not the looks
The most common suspension mistake in overlanding builds is choosing spring rate based on target lift height rather than how much the vehicle actually weighs when loaded.
Stock suspensions are engineered for the factory gross vehicle weight rating. Add a steel bumper, a winch, a roof tent, and three weeks of supplies, and you’ve changed the load equation entirely. Springs that sag under that weight don’t just ride badly — they kill suspension geometry, accelerate ball joint wear, and compromise handling on terrain where you need it most.
ARB recommends matching spring selection to the vehicle’s actual everyday loaded weight rather than a theoretical maximum. That means putting the rig on a scale as you’d actually run it — roof rack loaded, water tanks full, gear packed — before specifying springs. For most expedition builds, medium-duty to heavy-duty coils are the appropriate starting point.
Shock selection follows similar logic. Twin-tube units work well for daily driving with moderate trail use. For sustained off-road travel, especially with heavier builds, monotube designs manage heat better and respond faster to changing terrain. That difference matters when you’re covering rough ground for eight hours, not just a weekend afternoon.
On vehicles with independent front suspension, lifts above 2 to 2.5 inches typically require upgraded upper control arms (UCAs) to restore proper suspension geometry. Without them, ball joint angles exceed design limits, wear accelerates, and alignment becomes a recurring problem on every trip. One more thing to address at the same time: tire load rating. A rig carrying a steel bumper, winch, and roof tent is no longer a light-duty vehicle. Load Range E tires provide the sidewall stiffness and load capacity the build actually needs — P-metric tires, regardless of size, are not the right choice for a heavily loaded overland rig.
Wheel spacers: wider is smarter on cambered terrain
Track width doesn’t photograph dramatically, but it makes a real difference on trails where one side of the vehicle sits significantly higher than the other.
Off-camber terrain is where a lot of overland rigs get into trouble — not on steep descents or water crossings, but on the long diagonal sections of mountain tracks where the vehicle leans persistently toward one side. A wider stance lowers the effective reach of the center of gravity, which directly improves rollover resistance in these conditions. It also creates clearance for larger tires without fender contact when moving up from factory wheel sizes.
The critical variable in spacer selection is material quality. Spacers in off-road applications are under load continuously — through constant flex and impact on rough surfaces over extended periods, not just acceleration and braking. Aluminum alloy grade matters here. 6061-T6 forged aluminum is the functional baseline for off-road use. 7075-T6 forged aluminum, with a yield strength up to 503 MPa, is the better choice for demanding applications — particularly when running heavier aftermarket wheels and tires that increase the lever arm acting on the hub. For a serious 4×4 built for mixed terrain and extended travel, high-strength wheel spacers for 4×4 machined to hub-centric tolerances should be a baseline requirement, not an optional upgrade.
Hub-centricity is non-negotiable for off-road use. A lug-centric spacer transfers shear load to the wheel studs rather than through the hub bore — that causes vibration on pavement and genuine structural risk in the field. The core distinction isn’t size or brand — it’s this: cheap spacers of any thickness are typically lug-centric; quality off-road spacers are precision-bored to match the hub diameter of your specific vehicle. Worth noting: wider spacers also increase scrub radius, which affects steering feel and bearing load. Going beyond 30–35mm without accounting for your specific geometry is where problems start. The right width follows your track, tire, and clearance requirements, not an arbitrary number.
Before fitting spacers off-road:
- Hub-centric only — lug-centric spacers don’t belong here
- Thread engagement of at least 1.5× stud diameter after installation
- Retorque lug nuts after the first 50 miles of driving
Steering linkage: where quiet failures get expensive
Steering upgrades get overlooked until something fails on the trail. On a lifted rig with larger tires, the steering system takes more stress than factory engineering anticipated. The angles change, the mechanical leverage increases, and the linkage — tie rods, drag links, and the joints connecting them — absorbs the result.
Standard OEM tie rod ends are adequate for stock vehicles on paved roads. Once you’ve lifted the suspension and moved to heavier tires, the articulation demands on those joints increase substantially. The ball-and-socket geometry that works fine on pavement starts binding at suspension extremes — and on a lifted rig, that happens at ordinary trail conditions, not edge cases.
Spherical rod ends offer greater articulation range and higher load tolerance than conventional tie rod ends, which is why they’re standard in serious off-road builds, rock crawlers, and custom 4-link suspensions. Material matters as much as design: stainless steel spherical rod ends resist corrosion significantly better than carbon steel equivalents in the wet, muddy, and abrasive environments that overland travel involves. Grades like 17-4 PH stainless maintain their structural integrity through the sustained moisture exposure that makes standard steel rod ends a liability on long-distance trips.
The practical trade-off is maintenance interval. Rod ends without PTFE lining require periodic greasing. Lined versions extend service intervals at higher initial cost. For extended travel where access to tools and grease is limited, lined rod ends tend to pay for themselves well before the trip is over.
Undercarriage armor: match the material to the terrain
Skid plates and rock sliders aren’t a single decision — they’re a system matched to your actual terrain and your build’s weight budget.
Steel plating is appropriate for technical rock crawling where direct boulder contact is expected. The cost is weight: a full coverage skid system — front skid, transmission, transfer case, and fuel tank — in 3/16-inch steel typically adds 80–160 lbs on a mid-size or full-size truck. That compounds against fuel range and suspension load over an extended trip.
For most overlanding use — dirt roads, loose rock, river crossings, occasional embedded obstacles — aluminum skid plates offer adequate protection at meaningfully lower weight. 6061-T6 aluminum at 1/4-inch thickness handles typical overland impacts while saving roughly 30–50% of the equivalent steel weight. According to Expedition Overland’s build documentation, aluminum is the preferred choice for longer expedition travel precisely because weight savings compound across days of driving.
Priority order for coverage: oil pan and transmission (highest failure cost), fuel tank (especially relevant on loaded builds with reduced ground clearance), transfer case. Differential skids are useful in technical terrain but lower priority for general overland use.
One modification that belongs in this conversation and rarely gets mentioned: differential and transmission breather extensions. When a hot differential hits cold water in a river crossing, it creates a pressure differential that can draw water into the housing through the breather. Extending those breathers above the water line costs almost nothing and prevents a failure that costs thousands.
Build for the mission, not the build list
The clearest framework for an overland build is simple: define the terrain and the duration, then work backwards to the modifications that serve those requirements.
A truck built for a week on gravel roads needs different suspension, different protection, and different priorities than one heading into extended backcountry travel with no support available. The best builds aren’t the most modified — they’re the ones where every modification has a specific job. Suspension matched to real load. Spacers that improve stability without compromising bearing life. Steering linkage that handles full suspension articulation without binding. Armor placed where the ground is actually going to make contact.
Everything else — the lighting, the drawer systems, the fridge, the satellite communicator — matters too. But it all sits on top of that mechanical foundation. Get that right first.
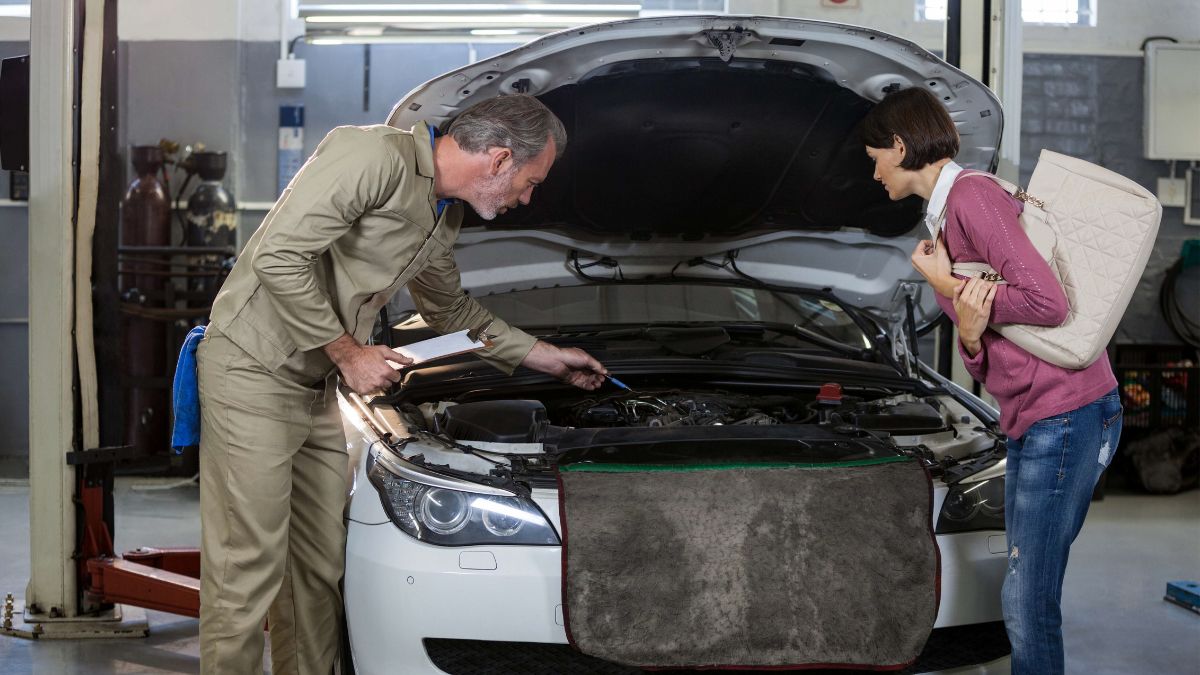
A vehicle accident can cause much more damage than what is immediately visible. While dents, scratches, and broken lights are easy to notice, a collision may also affect important structural and mechanical components. For this reason, professional repair is an essential part of restoring a vehicle after an accident.
Choosing a reliable collision repair shop can help ensure that damaged areas are carefully inspected and repaired according to the vehicle’s needs. Professional technicians use specialized equipment, diagnostic tools, and repair procedures to identify visible and hidden damage that could affect the vehicle’s safety and performance.
Identifying Hidden Collision Damage
One of the main benefits of professional collision repair is the ability to identify damage that may not be visible from the outside. A vehicle may appear to have suffered only minor cosmetic damage, but the force of an accident can affect internal components.
For example, a collision may damage the vehicle frame, suspension, steering system, sensors, or safety features. These problems may not always be noticeable immediately after an accident.
Professional inspections allow technicians to examine the vehicle more thoroughly. Identifying hidden damage is important because unresolved issues could affect how the vehicle performs and responds on the road.
Restoring the Vehicle’s Structural Integrity
Modern vehicles are designed with structural components that help absorb and manage the force of an accident. When these areas are damaged, restoring them correctly is important for maintaining the vehicle’s intended safety performance.
Professional repair facilities may use specialized measuring and alignment equipment to assess structural damage. This allows technicians to determine whether certain areas require repair or replacement.
Improper structural repairs can potentially affect how a vehicle responds in another accident. Restoring damaged areas according to appropriate repair procedures can therefore be an important part of protecting vehicle occupants.
Repairing Important Safety Systems
Today’s vehicles contain numerous advanced safety features. Airbags, seat belts, cameras, sensors, and driver-assistance systems may all be affected by a collision.
Even a relatively minor accident can interfere with the calibration or operation of electronic components. A warning light may not always provide a complete picture of the condition of every safety system.
Professional collision repair can include diagnostic testing to identify damaged components. Depending on the repairs performed, certain systems may also require calibration to help ensure they operate correctly.
Addressing these issues is an important part of returning a vehicle to safe driving condition.
Using Appropriate Parts and Repair Methods
The quality of replacement parts and repair methods can influence a vehicle’s safety, reliability, and appearance. Different vehicles have different designs, materials, and manufacturer requirements.
Professional technicians consider factors such as the location of the damage, the type of material involved, and the vehicle’s design when determining the appropriate repair approach.
For example, repairing aluminum components may require different tools and procedures than repairing traditional steel components. Modern vehicles may also contain advanced materials that require specialized knowledge.
Using appropriate parts and repair techniques can help maintain the vehicle’s original design and performance as closely as possible.
Wheel Alignment and Suspension Inspection
A collision can affect wheel alignment and suspension components, even if there is no obvious damage to the wheels.
Problems with alignment can cause uneven tire wear, poor handling, and difficulty maintaining control of the vehicle. Damaged suspension components may also affect ride quality and vehicle stability.
During professional repairs, technicians may inspect these systems to determine whether they were affected by the accident. Correcting alignment and suspension problems can help improve handling and reduce the risk of additional mechanical issues.
These inspections are especially important after collisions involving impacts to the front, rear, or side of the vehicle.
Restoring Visibility and Lighting
Safe driving depends heavily on visibility. Accidents can damage headlights, taillights, mirrors, cameras, windshields, and other components that help drivers see and be seen.
A professional repair process can address damaged lighting and visibility systems. Properly functioning headlights and taillights help drivers navigate roads and communicate their movements to other motorists.
Cameras and sensors may also need inspection or recalibration after a collision. Restoring these systems can help ensure that the vehicle’s safety technology continues to function as intended.
The Importance of Proper Paint and Exterior Repairs
Although exterior repairs are often associated with appearance, they can also play a role in protecting the vehicle.
Vehicle paint and protective coatings help shield metal surfaces from moisture and environmental exposure. Damaged paint can leave certain areas more vulnerable to corrosion over time.
Professional refinishing helps restore the vehicle’s appearance while also providing protection to repaired surfaces. Matching the paint correctly can improve the final appearance and help maintain the vehicle’s overall condition.
A high-quality exterior repair can therefore provide both cosmetic and practical benefits.
Why Experience and Equipment Matter
Modern vehicles are more complex than ever before. Repairing them may require computerized diagnostic equipment, precision measuring systems, welding equipment, and specialized tools.
An experienced collision repair shop can use these resources to evaluate accident damage and perform repairs based on the vehicle’s specific requirements.
Technicians may need to work with structural components, electrical systems, safety features, and advanced driver-assistance technology. Having access to appropriate equipment and technical knowledge can make a significant difference in the quality and accuracy of the repair process.
Protecting the Vehicle’s Long-Term Value
Professional collision repair may also help protect a vehicle’s long-term value. Poor repairs can lead to visible imperfections, mechanical problems, and additional maintenance costs.
A properly repaired vehicle may be easier to maintain and may provide greater confidence to future owners or buyers. Maintaining records of repairs can also help document the work completed after an accident.
While the primary concern should always be safety, protecting the condition and value of the vehicle can be an additional benefit of professional repair.
Final Thoughts
Professional collision repair plays an important role in restoring vehicle safety after an accident. A collision can cause hidden structural, mechanical, and electronic damage that may not be visible without a thorough inspection.
From repairing structural components and suspension systems to inspecting airbags, sensors, cameras, and lighting, professional technicians help address many factors that contribute to safe vehicle operation.
Choosing a qualified collision repair shop can provide greater confidence that accident-related damage is properly evaluated and repaired. By addressing both visible and hidden damage, professional collision repair helps drivers return to the road with a vehicle that is safer, more reliable, and better prepared for everyday driving.
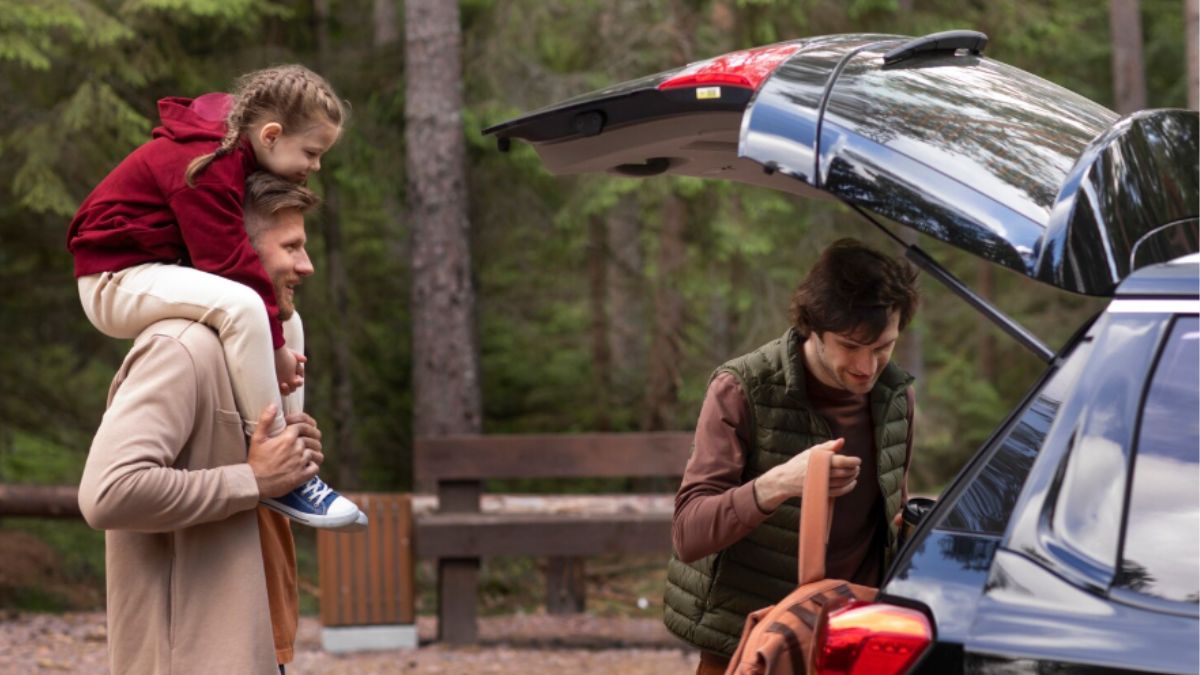
Just like every home should have a basic First Aid kit and other emergency items “just in case”, so too should you keep a basic kit in your vehicle in case of an emergency while you’re on the road. This includes tyre changing tools, roadside safety gear, and First Aid items. It’s also a great idea to keep certain personal comfort items in your car (or other vehicle) as well.
KEY INSIGHTS
- Every vehicle should have a safety kit kept in the back or the boot in case of an emergency.
- Your car safety kit should include items such as your vehicle user manual, a roadworthy spare tyre and tyre-changing kit, a First Aid kit, a torch, a phone charger cable, and more.
- Keep your roadside assistance membership up to date and keep details (or your membership card) in your glove box so they are at hand if and when you need them.
From day-to-day city driving to road trips where you’re driving rurally or remotely or for long distances, there is always a chance you’ll need certain tools and emergency supplies. These should be kept in your car at all times.
What is a Car Safety Kit?
A car safety kit comprises the essentials you might need in an emergency, such as a breakdown, accident, extreme weather, or another unplanned or unexpected situation.
-
Your Vehicle’s User Manual
This comes with all new vehicles and should be included if you buy a second-hand vehicle. It is usually kept in the glove box and explains everything you need to know about your vehicle’s features – including emergency troubleshooting.
-
Your Tyre Kit
You should always have a properly-inflated, roadworthy spare tyre and tyre-changing kit in your vehicle. A flat tyre can happen anywhere, anytime – and even if you need to call roadside assistance to have it changed, having your spare tyre ready to go (with your own tools) makes the process much simpler and smoother.
-
A Torch with Spare Batteries
While smartphones do indeed have a torch, using this function for any length of time can significantly drain the life of your phone’s battery. A decent handheld, battery-powered torch can be very handy, especially if you break down in the dark. It can also be used to signal for help. Keep some spare batteries on hand.
-
A First Aid Kit
This can literally be a lifesaver. You can buy Vehicle First Aid kits from pharmacies, hardware stores, and online, including from providers like St John’s Ambulance, the NRMA, and the Red Cross. You could, alternatively, create your own. Essential items include a few pairs of disposable nitrile gloves, antiseptic wipes, hand sanitiser, band aids, gauze, dressing pads, bandages, scissors, tweezers, and over-the-counter painkillers. If you take regular medications, keep a small supply of these in there as well – just in case.
-
A Spare Phone Charger Cable
Almost all of us have our mobile phones with us at all times. You should always keep a compatible charger in your vehicle – either a USB charger (if your car has a USB port) or one that can charge directly from your vehicle’s cigarette lighter if USB is not available. You may also choose to keep a fully charged power bank in your glove box or central console.
-
An Umbrella/Rain Jacket/Sweater
If you don’t have them with you, at some point you’ll really, really wish you did!
Optional Extras
-
A Small Fire Extinguisher
Another optional, but important addition to consider for your car’s boot. Accidents can cause fires, and having a small extinguisher can help prevent a small fire from becoming a bigger danger. Secure it so that it doesn’t roll around in your car.
-
Drinking Water
Access to bottled water is important not just for drinking, but also for hand washing, cleaning up in case of motion sickness, topping up window washer liquid, and more.
-
Non-Perishable Snacks
If you’re driving any distance or ever experience issues like low blood sugar, or you or another traveller are diabetic, having snacks on hand when you need them can be very important. Consider carrying a small supply of dried fruit, muesli bars, or sweets like barley sugar, butterscotch, or jelly babies.
-
Jumper Leads
You might never need them, but having a set of jumper leads in the boot of your car is worth it when your battery won’t start – and this happens with little to no warning. It also enables you to help another when they’re in a fix.
-
A Rug or Blanket
Can be used to sit on, for warmth, for shade, to protect against broken glass, or to provide First Aid for shock.
-
Glass Cleaner
There’s nothing worse than trying to see out of a windscreen that’s dirty or smeared, and your external window washers can only do so much. Having a roll of paper towel and a spray bottle of window and glass cleaner makes all the difference – and helps boost your safety on the road.
Final Thought
Being prepared for the unexpected makes all the difference when you are on the road. As well as the abovementioned items, you should always have your roadside assistance membership card with you – keeping it in your glove box is a great idea.
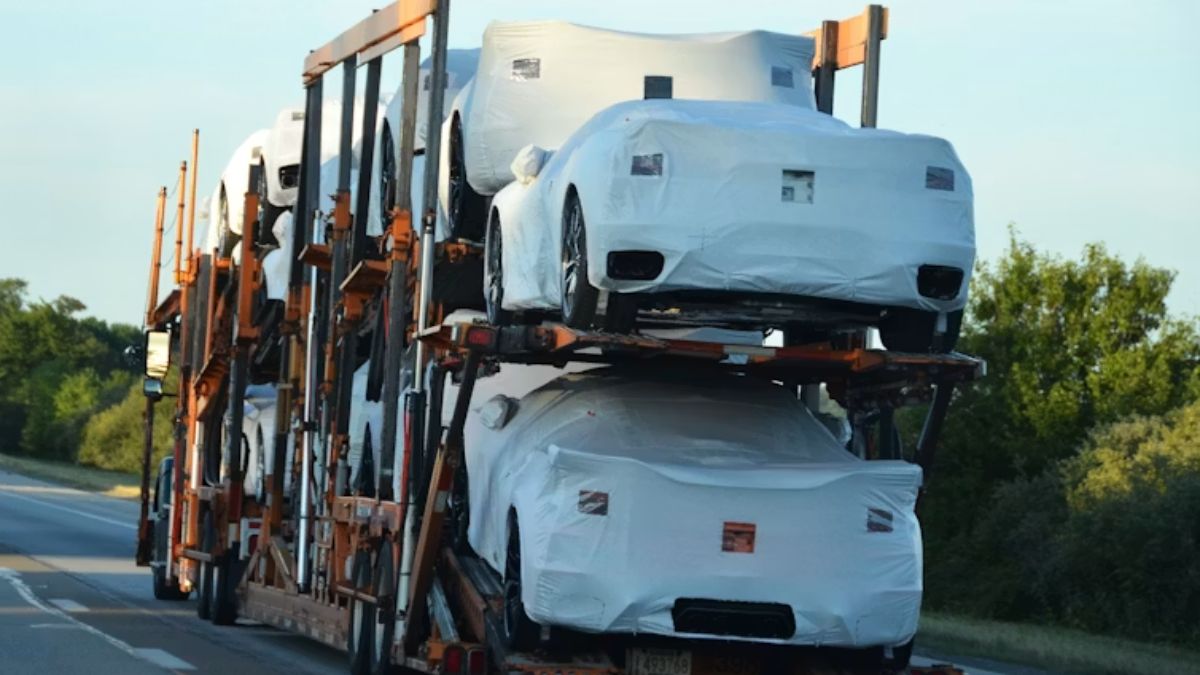
Relocating an auto business is a beast of a project.
Moving isn’t just furniture and file cabinets. You have motorcycles, cars, ATVs, and thousands of dollars of merchandise that all need to arrive safely. One scratch, bang, wreck…
And your bottom line takes a hit.
Here’s the good news:
With a good plan (and good partners), you can relocate an entire dealership floor without losing your sanity (or your inventory).
This article explains precisely how to move your automobile dealership inventory… the efficient way — and where trailer cargo shipping comes into play.
Let’s jump in!
What you’ll discover:
- Why Auto Business Relocations Are Different
- How To Plan Your Inventory Move
- Open-Air Motorcycle Transport Explained
- Protecting High-Value Stock
- Common Mistakes To Avoid
Why Auto Business Relocations Are Different
Moving a home is one thing. Moving an auto business? A whole different animal.
Think about it:
Each unit on your lot should have a title, VIN and price tag. It also should arrive in showroom condition. Scratches on a tank or ding in a fender mean markdowns, delays or worse … lost sales.
Here’s what makes it tricky:
- Multiple vehicle types on one lot
- Tight timelines between the two locations
- Insurance and paperwork for every unit
- Customers still expecting stock to be ready to sell
Auto transport companies have built their entire business around this type of work. In fact, industry revenue hit $10.1 billion in 2024, underscoring how reliant businesses are on professional carriers to transport inventory.
Which is why working with a reliable auto transport company for your open-air motorcycle transport needs really is a no-brainer. They know how to load, haul and transport multiple motorcycles safely to your destination without you ever having to lift a finger.
Cool right?
Let’s talk about how to plan the move.
How To Plan Your Inventory Move
The biggest mistake auto business owners make?
Trying to wing it.
When moving high-value stock, planning is key. Doing your homework up front will save you a lot of hassles (& $$$) down the road.
Start with this checklist:
- List every unit by VIN
- Photograph each vehicle before pickup
- Note existing scratches, dents, or wear
- Group units by transport type (car, bike, ATV)
- Set a delivery window with buffer days
Pictures are key. If there is an issue in transit, you have proof of the condition at pickup by the carrier for each unit.
Next compare prices from several carriers. Freight costs vary depending on distance, load and time of year. Don’t automatically go with the lowest bid… Inexpensive carriers may cut corners on insurance or service.
Look for these three things in a carrier:
- Licensed and insured (check FMCSA)
- Experience with dealer stock
- Positive reviews from other businesses
After you’ve settled on a carrier, prepare your documentation. Titles, bills of sale, inventory sheets, etc. should all be in order before pick up day.
Open-Air Motorcycle Transport Explained
Let’s talk about the bikes on your floor.
Open-air motorcycle transport is the most common method for shipping motorcycles long distances. As the name implies, open-air shipping means your bikes will travel on an open trailer, not an enclosed one.
Here’s why so many dealers use it:
- It’s more affordable than enclosed transport
- It has better year-round availability
- Multiple bikes can ship together
- Delivery times are usually faster
Now, some dealers ask… “Aren’t bikes safer inside an enclosed trailer?”
That is a valid question. Covered transport does provide additional protection against the elements and road debris. However, when transporting regular stock bikes, an open trailer will suffice.
Motorcycles are soft-tied down, chained to wheel chocks and frequently loaded onto purpose-built motorcycle trailers. Everything is done to ensure they remain upright.
Recent transport statistics show SUVs accounted for 46% of total vehicles moved in 2024. Motorcycles and specialty vehicles account for a small (but very important) portion of the market share. You get the picture — carriers haul all types of inventory daily and know how to move it.
Outdoor shipments will almost always be your best option for a bulk dealer move. It’s cheaper and just as safe.
Protecting High-Value Stock
Not every unit on your lot is a standard model.
You may have vintage models, custom bikes or premium sport bikes. Whatever type you have, they will require special attention.
Here’s what to do with high-value inventory:
- Ship it in an enclosed trailer
- Add extra insurance coverage
- Request a dedicated (non-shared) trailer
- Document every angle with photos and video
- Schedule pickup and delivery yourself
It’s more expensive, yes. But consider that one totaled custom bike could eliminate any savings from cheap shipping. When you’re in doubt, overspend on irreplaceables.
Additionally, maintain your inventory sheet throughout the day. Strike through each piece as it is dropped off. You will be able to easily identify any pieces that are lost or late.
Common Mistakes To Avoid
Even seasoned dealers slip up during a move. Watch out for these common blunders:
Hurrying schedule: Packing too much into a couple of days will cause rushed loading and damage.
Do you skip insurance? Regular cargo insurance might not cover high value stock. Inquire about additional coverage.
Not inspecting at delivery: Walk around with driver before signing any paperwork. Once signed, it’s your unit.
Work with brokers: Don’t. Brokers will dump your load on whomever they think will do it the cheapest. Direct with carriers gives you control.
Get these things right and your move goes smoothly.
Bringing It Home
Moving auto business inventory can be a daunting task. With these few tips it does not have to be overwhelming.
Think of each unit as the asset that it is. Take pictures. Use licensed carriers. Understand when it makes sense to pay a little more for high-value merchandise. As far as motorcycles go, open air transport is the preferred method for most dealers — it’s cheap, quick and offers adequate protection for your everyday inventory.
To quickly recap:
- Plan every step before pickup day
- Use open-air motorcycle transport for standard bikes
- Reserve enclosed trailers for high-value units
- Inspect every unit on delivery
- Keep paperwork organised
Follow these steps and your inventory arrives ready to sell.
Fewer headaches, less downtime and more time concentrating on operating your business in your new location.
-

 NEWS1 year ago
Historical Churches in Manila
-

 TOPIC3 months ago
Unveiling AvTub: Your Ultimate Guide to the Best AV Content
-

 TOPIC1 year ago
Symbols of Hope: The 15th Belenismo sa Tarlac
-

 TOPIC1 year ago
RIZAL at 160: a Filipino Feat in Britain
-

 TOPIC1 year ago
Simbang Gabi and Kakanin
-

 TOPIC1 month ago
Understanding Fascisterne: Origins and Ideological Roots
-

 TOPIC1 year ago
“The Journey Beyond Fashion” – Ditta Sandico
-

 NEWS4 months ago
What Caused Delta Flight DL275 to Diverted LAX? A Detailed Breakdown