
AUTOMOBILE
Moving Your Auto Business Inventory When Relocating

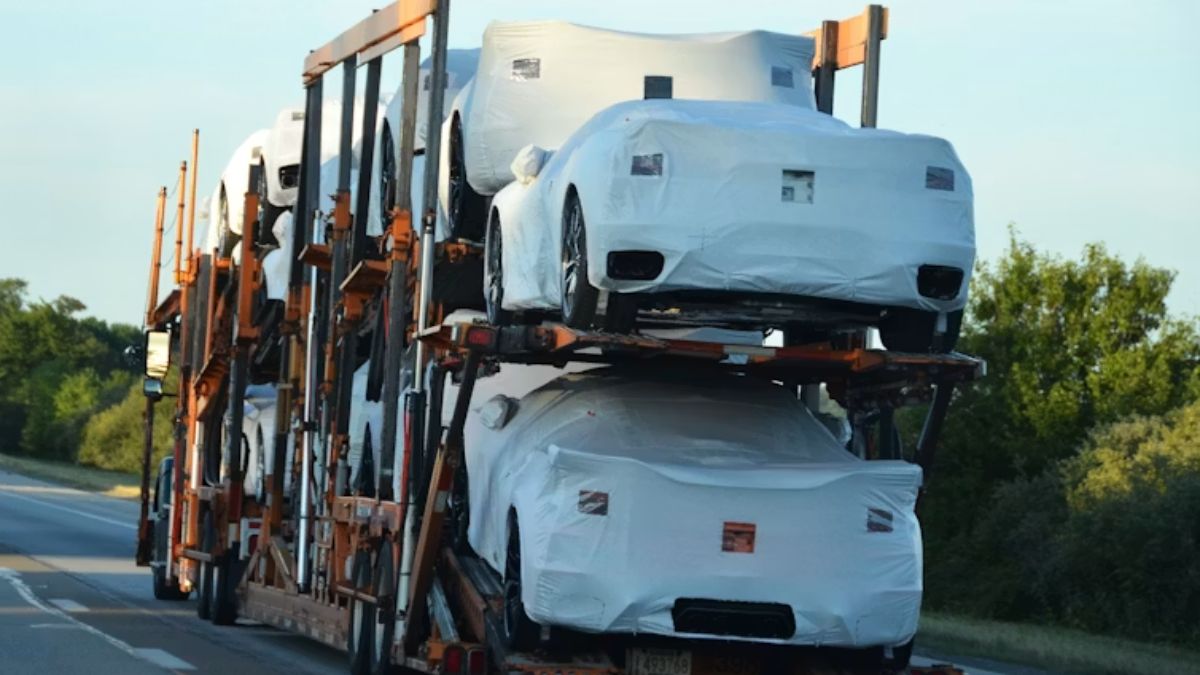
Relocating an auto business is a beast of a project.
Moving isn’t just furniture and file cabinets. You have motorcycles, cars, ATVs, and thousands of dollars of merchandise that all need to arrive safely. One scratch, bang, wreck…
And your bottom line takes a hit.
Here’s the good news:
With a good plan (and good partners), you can relocate an entire dealership floor without losing your sanity (or your inventory).
This article explains precisely how to move your automobile dealership inventory… the efficient way — and where trailer cargo shipping comes into play.
Let’s jump in!
What you’ll discover:
- Why Auto Business Relocations Are Different
- How To Plan Your Inventory Move
- Open-Air Motorcycle Transport Explained
- Protecting High-Value Stock
- Common Mistakes To Avoid
Why Auto Business Relocations Are Different
Moving a home is one thing. Moving an auto business? A whole different animal.
Think about it:
Each unit on your lot should have a title, VIN and price tag. It also should arrive in showroom condition. Scratches on a tank or ding in a fender mean markdowns, delays or worse … lost sales.
Here’s what makes it tricky:
- Multiple vehicle types on one lot
- Tight timelines between the two locations
- Insurance and paperwork for every unit
- Customers still expecting stock to be ready to sell
Auto transport companies have built their entire business around this type of work. In fact, industry revenue hit $10.1 billion in 2024, underscoring how reliant businesses are on professional carriers to transport inventory.
Which is why working with a reliable auto transport company for your open-air motorcycle transport needs really is a no-brainer. They know how to load, haul and transport multiple motorcycles safely to your destination without you ever having to lift a finger.
Cool right?
Let’s talk about how to plan the move.
How To Plan Your Inventory Move
The biggest mistake auto business owners make?
Trying to wing it.
When moving high-value stock, planning is key. Doing your homework up front will save you a lot of hassles (& $$$) down the road.
Start with this checklist:
- List every unit by VIN
- Photograph each vehicle before pickup
- Note existing scratches, dents, or wear
- Group units by transport type (car, bike, ATV)
- Set a delivery window with buffer days
Pictures are key. If there is an issue in transit, you have proof of the condition at pickup by the carrier for each unit.
Next compare prices from several carriers. Freight costs vary depending on distance, load and time of year. Don’t automatically go with the lowest bid… Inexpensive carriers may cut corners on insurance or service.
Look for these three things in a carrier:
- Licensed and insured (check FMCSA)
- Experience with dealer stock
- Positive reviews from other businesses
After you’ve settled on a carrier, prepare your documentation. Titles, bills of sale, inventory sheets, etc. should all be in order before pick up day.
Open-Air Motorcycle Transport Explained
Let’s talk about the bikes on your floor.
Open-air motorcycle transport is the most common method for shipping motorcycles long distances. As the name implies, open-air shipping means your bikes will travel on an open trailer, not an enclosed one.
Here’s why so many dealers use it:
- It’s more affordable than enclosed transport
- It has better year-round availability
- Multiple bikes can ship together
- Delivery times are usually faster
Now, some dealers ask… “Aren’t bikes safer inside an enclosed trailer?”
That is a valid question. Covered transport does provide additional protection against the elements and road debris. However, when transporting regular stock bikes, an open trailer will suffice.
Motorcycles are soft-tied down, chained to wheel chocks and frequently loaded onto purpose-built motorcycle trailers. Everything is done to ensure they remain upright.
Recent transport statistics show SUVs accounted for 46% of total vehicles moved in 2024. Motorcycles and specialty vehicles account for a small (but very important) portion of the market share. You get the picture — carriers haul all types of inventory daily and know how to move it.
Outdoor shipments will almost always be your best option for a bulk dealer move. It’s cheaper and just as safe.
Protecting High-Value Stock
Not every unit on your lot is a standard model.
You may have vintage models, custom bikes or premium sport bikes. Whatever type you have, they will require special attention.
Here’s what to do with high-value inventory:
- Ship it in an enclosed trailer
- Add extra insurance coverage
- Request a dedicated (non-shared) trailer
- Document every angle with photos and video
- Schedule pickup and delivery yourself
It’s more expensive, yes. But consider that one totaled custom bike could eliminate any savings from cheap shipping. When you’re in doubt, overspend on irreplaceables.
Additionally, maintain your inventory sheet throughout the day. Strike through each piece as it is dropped off. You will be able to easily identify any pieces that are lost or late.
Common Mistakes To Avoid
Even seasoned dealers slip up during a move. Watch out for these common blunders:
Hurrying schedule: Packing too much into a couple of days will cause rushed loading and damage.
Do you skip insurance? Regular cargo insurance might not cover high value stock. Inquire about additional coverage.
Not inspecting at delivery: Walk around with driver before signing any paperwork. Once signed, it’s your unit.
Work with brokers: Don’t. Brokers will dump your load on whomever they think will do it the cheapest. Direct with carriers gives you control.
Get these things right and your move goes smoothly.
Bringing It Home
Moving auto business inventory can be a daunting task. With these few tips it does not have to be overwhelming.
Think of each unit as the asset that it is. Take pictures. Use licensed carriers. Understand when it makes sense to pay a little more for high-value merchandise. As far as motorcycles go, open air transport is the preferred method for most dealers — it’s cheap, quick and offers adequate protection for your everyday inventory.
To quickly recap:
- Plan every step before pickup day
- Use open-air motorcycle transport for standard bikes
- Reserve enclosed trailers for high-value units
- Inspect every unit on delivery
- Keep paperwork organised
Follow these steps and your inventory arrives ready to sell.
Fewer headaches, less downtime and more time concentrating on operating your business in your new location.

For car enthusiasts and everyday buyers alike, buying a vehicle requires a careful eye to ensure you are getting a reliable ride rather than a mechanical money pit.
Whether you are hunting for a weekend project or a daily driver, your inspection should cover everything from the paperwork and vehicle history to the engine and suspension.
Don’t know what you need to check when buying a vehicle? Look nowhere else. Here’s an ultimate enthusiast-style checklist for you.
1. Vehicle History & Paperwork
Before you even pop the hood, you need to verify the car’s background and legitimacy.
Vehicle History Report: Use services like Carfax or AutoCheck to look for past accidents, title issues, and odometer rollbacks.
VIN Verification: If you plan to buy Mazda CX-70 SUV, ensure the Vehicle Identification Number matches across the dashboard, the driver’s door sticker, and all ownership documents.
Service Records: Ask for maintenance logs to verify that critical services (like timing belts, transmission fluid, and oil changes) were done on schedule.
2. Exterior & Frame
Inspect the body in direct sunlight to spot hidden damage or poor repairs.
Panel Gaps: Check the gaps between doors, the hood, and the trunk. Uneven gaps or mismatched paint can indicate previous collision damage.
Rust Inspection: Look closely at the wheel wells, door sills, exhaust system, and undercarriage.
Tires & Brakes: Check the tire tread depth and look for uneven wear, which indicates poor wheel alignment or failing suspension. Inspect the brake rotors for a deep lip, which signals they need replacing.
3. Under the Hood
This is where true autophiles dig into the heart of the vehicle.
Fluid Levels & Condition: Pull the dipstick to check oil color and level (gunky, milky, or gray oil is a major red flag). Check brake and transmission fluid for clarity and proper levels.
Signs of Leaks: Use a flashlight to look under the engine block and transmission for fresh oil or coolant puddles.
Belts and Hoses: Check for cracks, fraying, or dry rot on rubber belts and hoses.
4. Interior & Electronics
Climb inside and test every single feature—fixing broken electronics can be very expensive.
The “Smell” Test: Musty or overly sweet smells can point to mildew from water leaks or a failing heater core.
Controls & Switches: Turn on the ignition and check all lights, windows, power locks, the radio, and the air conditioning.
Make sure the dashboard warning lights (like the Check Engine Light) turn on and then off properly when the car starts.
5. The Test Drive
You should drive the car in various conditions—city streets, highways, and over bumps—with the radio off.
Engine & Transmission: Listen for strange knocks or whines. Transmissions should shift smoothly without jerking or hesitation.
Braking & Handling: The car should track straight on a flat road. Test the brakes firmly in a safe spot to ensure the car stops straight and the pedal feels firm.
Suspension: Listen for clunks or excessive bouncing when going over speed bumps.
6. Professional Pre-Purchase Inspection (PPI)
Even if you are an expert, a Pre-Purchase Inspection (PPI) by an independent mechanic is essential. Putting the car on a lift allows a professional to see hidden undercarriage damage and run deep diagnostic scans.
The Bottom Line
From vehicle’s background to its all components, checking everything can save you from buy an inefficient vehicle. To put it another way, keen attention to detail will result in a reliable vehicle investment.

Introduction
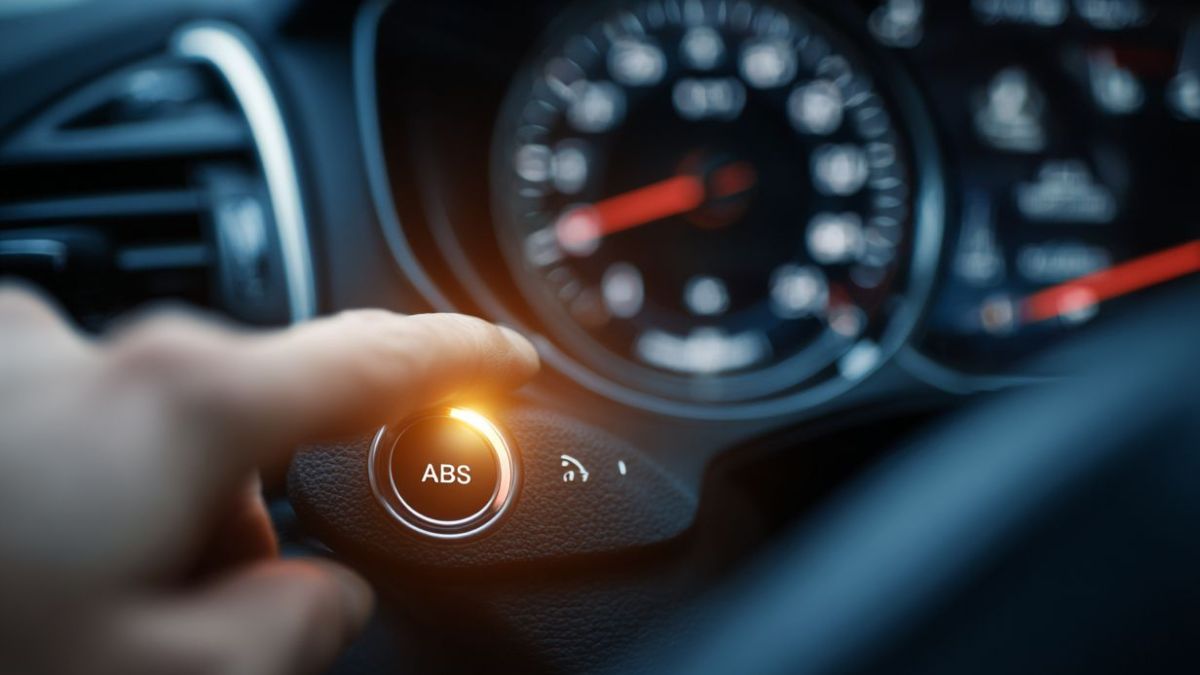
ABS Testauslösung is the German term often used to describe the activation or triggering of the Anti-lock Braking System (ABS) in a vehicle, and understanding why it happens helps you stay safe and reduce repair costs. This guide explains what ABS testauslösung means, common causes, step-by-step diagnostic checks, practical fixes, and tips to avoid repeated triggers, all written for drivers and DIY mechanics.
What is ABS Testauslösung?
ABS testauslösung means the ABS has engaged or sent a fault signal, often indicated by a dashboard warning light. This happens when the system detects wheel slip, sensor fault, or an electrical/communication error and intervenes to prevent wheel lock.
How ABS Works (Simple)
- ABS monitors wheel speed sensors at each wheel, comparing rotation rates.
- When the system detects a wheel decelerating much faster than others (slip), it modulates brake pressure to maintain traction.
- If the control unit sees inconsistent signals or a hardware fault, it will trigger a warning and may enter a limp or degraded mode.
Common Causes of ABS Testauslösung
- Faulty wheel speed sensor (most common). Sensors can get dirty, damaged, or misaligned.
- Damaged tone ring (ABS reluctor ring) with cracks, missing teeth, or heavy rust.
- Electrical problems such as corroded connectors, frayed wiring, or blown fuses.
- Faulty ABS module or hydraulic unit (valves/pumps) causing erroneous engagement.
- Low brake fluid or air in the brake system that affects hydraulic pressure.
- Intermittent CAN-bus or communication faults between control units.
- Road conditions (ice, deep water, extreme uneven surfaces) that legitimately trigger ABS activation.
Quick Diagnostic Checklist
- Check dashboard: is the ABS light steady, flashing, or accompanied by other warnings?
- Scan for ABS fault codes with an OBD-II scanner that supports ABS modules.
- Inspect wheel speed sensors and connectors for dirt or damage.
- Check tone ring for missing teeth or heavy corrosion.
- Test wiring continuity and voltage feeding the sensors.
- Verify brake fluid level and condition.
Step-by-Step Diagnosis and Testing
Start with the easiest checks and move to complex ones; this saves time and money.
Step 1 — Read ABS Fault Codes
Use an ABS-capable scanner to read stored codes; note freeze-frame data and code timestamps.
Step 2 — Visual Inspection
Inspect wiring harnesses, connectors, sensors, and tone rings for obvious damage or contamination.
Step 3 — Sensor Testing
Measure sensor resistance and output while spinning the wheel; compare to manufacturer specs.
Step 4 — Electrical Checks
Check power, ground, and signal continuity to the sensor; clean corroded pins.
Step 5 — Module and Hydraulic Tests
If codes point to the ABS pump or valve block, consider advanced diagnostics or professional bench testing.
Key Comparison — Sensor vs. Tone Ring Problems
| Symptom | Likely Cause | Quick Check |
|---|---|---|
| Intermittent ABS light when turning or over bumps | Broken or loose tone ring | Inspect ring for missing teeth |
| ABS light comes on after wheel work or sensor replacement | Faulty connector or wiring | Wiggle harness while monitoring codes |
| ABS engages on dry pavement at low speed | Bad wheel speed sensor | Measure sensor output while wheel spins |
This table helps separate sensor faults from mechanical tone-ring issues quickly.
Practical Examples (Real-World Scenarios)
Example 1
After hitting a pothole, ABS light illuminated — inspection found a cracked tone ring near the hub, replaced tone ring solved the issue.
Example 2
ABS light with frictiony braking and a code for sensor circuit open — disconnected connector due to corrosion; cleaned and sealed the connector restored normal function.
Example 3
ABS light plus traction control alert on wet roads — proper behavior when wheels slip; no fault code, driving technique and tire check recommended.
Pros and Cons of DIY ABS Diagnosis
Pros
- Saves money on basic faults like sensor cleaning or connector repairs.
- Speeds up repairs if you can identify simple issues early.
Cons
- Risk of misdiagnosis can lead to unnecessary parts replacement.
- ABS module or hydraulic repairs require special tools and expertise.
Common Mistakes That Trigger ABS Testauslösung
- Replacing a wheel without resetting or reprogramming some modern ABS sensors.
- Cleaning sensors with abrasive brushes that damage sensing surfaces.
- Ignoring minor codes until the system enters a fail-safe mode.
- Using a generic OBD-II scanner that cannot read manufacturer-specific ABS codes.
Best Practices to Prevent False ABS Triggers
- Keep wheel hubs, sensors, and tone rings clean; remove heavy rust when present.
- Use dielectric grease on connectors after cleaning to prevent corrosion.
- Replace brake fluid according to manufacturer schedule to avoid hydraulic faults.
- Use a proper scanner with ABS capabilities for accurate diagnostics.
- Address suspension or wheel-bearing play promptly—mechanical movement can affect sensor readings.
Technical Troubleshooting Table — Tests and Expected Results
| Test | Normal Result | Fault Indication |
|---|---|---|
| Sensor resistance check | Within spec range (manufacturer) | Open circuit or out-of-range resistance |
| Sensor AC voltage while spinning | Smooth AC waveform; voltage changes with speed | No signal or intermittent spikes |
| Tone ring visual | Uniform teeth, no cracks | Missing teeth or heavy corrosion |
| Connector voltage (key on) | Specified supply voltage present | No voltage or intermittent supply |
This table is designed so a DIYer or technician can quickly match test results to probable faults.
When to See a Professional
If diagnostics point to the ABS control module, hydraulic unit, or if wiring faults are inside the vehicle harness or ABS pump, seek a trained technician; professional tools and safe brake system handling are required. Also consult a pro when safety systems like traction control or stability control are affected alongside ABS faults.
Maintenance Checklist
- Inspect ABS sensors and tone rings every 30,000 km or during brake service.
- Replace damaged sensors or rings immediately.
- Flush brake fluid per manufacturer interval.
- Check wheel bearings and suspension for play.
Frequently Asked Questions
1. What does ABS Testauslösung mean?
It describes the ABS triggering or activation and the system detecting a fault or wheel slip.
2. Why does the ABS light come on after a wheel replacement?
Often due to a disconnected sensor, damaged tone ring, or wiring disturbance; scan codes and inspect connectors.
3. Can I drive with the ABS light on?
You can drive short distances cautiously, but braking performance may be reduced; have it checked promptly.
4. How much does ABS repair cost?
Costs vary widely: sensor replacement is relatively inexpensive, while ABS module or pump repair can be costly depending on vehicle make and labor.
5. Will cleaning a sensor fix ABS Testauslösung?
Cleaning can fix issues caused by contamination, but damaged sensors or tone rings need replacement.
/ You May Also Read /
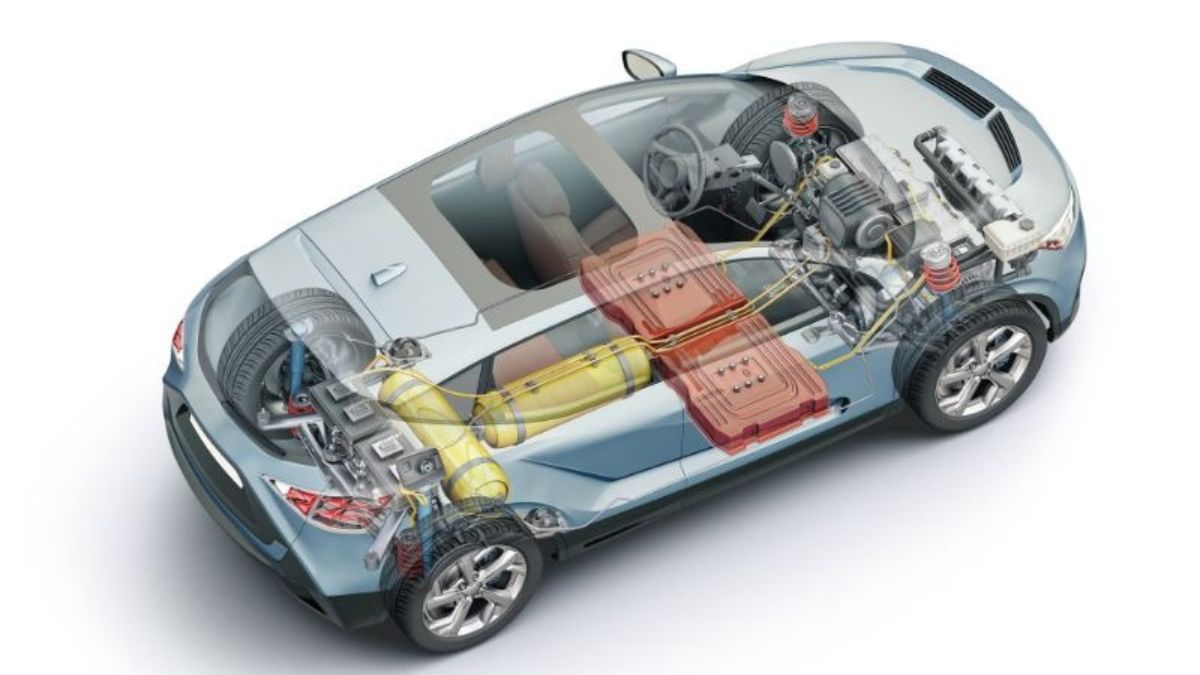
Most overland builds follow the same progression: lift kit, bigger tires, roof rack, recovery boards bolted to the sides. It looks the part. Then you hit your first serious trail — extended washboard, a rocky river crossing, two hundred kilometers from the nearest town — and you find out fast which parts of that build actually mattered.
The difference between a capable overland rig and a well-decorated truck comes down to a handful of decisions most guides skip over. Not which brand of recovery board photographs best, but whether your suspension is matched to your actual loaded weight, whether your track width gives you a fighting chance on cambered mountain roads, and whether your steering linkage can handle the abuse that dirt roads will put on it for weeks at a time.
Here’s what those modifications actually look like — and what to prioritize if you’re building or upgrading a rig for real-world use.
Suspension: match the load, not the looks
The most common suspension mistake in overlanding builds is choosing spring rate based on target lift height rather than how much the vehicle actually weighs when loaded.
Stock suspensions are engineered for the factory gross vehicle weight rating. Add a steel bumper, a winch, a roof tent, and three weeks of supplies, and you’ve changed the load equation entirely. Springs that sag under that weight don’t just ride badly — they kill suspension geometry, accelerate ball joint wear, and compromise handling on terrain where you need it most.
ARB recommends matching spring selection to the vehicle’s actual everyday loaded weight rather than a theoretical maximum. That means putting the rig on a scale as you’d actually run it — roof rack loaded, water tanks full, gear packed — before specifying springs. For most expedition builds, medium-duty to heavy-duty coils are the appropriate starting point.
Shock selection follows similar logic. Twin-tube units work well for daily driving with moderate trail use. For sustained off-road travel, especially with heavier builds, monotube designs manage heat better and respond faster to changing terrain. That difference matters when you’re covering rough ground for eight hours, not just a weekend afternoon.
On vehicles with independent front suspension, lifts above 2 to 2.5 inches typically require upgraded upper control arms (UCAs) to restore proper suspension geometry. Without them, ball joint angles exceed design limits, wear accelerates, and alignment becomes a recurring problem on every trip. One more thing to address at the same time: tire load rating. A rig carrying a steel bumper, winch, and roof tent is no longer a light-duty vehicle. Load Range E tires provide the sidewall stiffness and load capacity the build actually needs — P-metric tires, regardless of size, are not the right choice for a heavily loaded overland rig.
Wheel spacers: wider is smarter on cambered terrain
Track width doesn’t photograph dramatically, but it makes a real difference on trails where one side of the vehicle sits significantly higher than the other.
Off-camber terrain is where a lot of overland rigs get into trouble — not on steep descents or water crossings, but on the long diagonal sections of mountain tracks where the vehicle leans persistently toward one side. A wider stance lowers the effective reach of the center of gravity, which directly improves rollover resistance in these conditions. It also creates clearance for larger tires without fender contact when moving up from factory wheel sizes.
The critical variable in spacer selection is material quality. Spacers in off-road applications are under load continuously — through constant flex and impact on rough surfaces over extended periods, not just acceleration and braking. Aluminum alloy grade matters here. 6061-T6 forged aluminum is the functional baseline for off-road use. 7075-T6 forged aluminum, with a yield strength up to 503 MPa, is the better choice for demanding applications — particularly when running heavier aftermarket wheels and tires that increase the lever arm acting on the hub. For a serious 4×4 built for mixed terrain and extended travel, high-strength wheel spacers for 4×4 machined to hub-centric tolerances should be a baseline requirement, not an optional upgrade.
Hub-centricity is non-negotiable for off-road use. A lug-centric spacer transfers shear load to the wheel studs rather than through the hub bore — that causes vibration on pavement and genuine structural risk in the field. The core distinction isn’t size or brand — it’s this: cheap spacers of any thickness are typically lug-centric; quality off-road spacers are precision-bored to match the hub diameter of your specific vehicle. Worth noting: wider spacers also increase scrub radius, which affects steering feel and bearing load. Going beyond 30–35mm without accounting for your specific geometry is where problems start. The right width follows your track, tire, and clearance requirements, not an arbitrary number.
Before fitting spacers off-road:
- Hub-centric only — lug-centric spacers don’t belong here
- Thread engagement of at least 1.5× stud diameter after installation
- Retorque lug nuts after the first 50 miles of driving
Steering linkage: where quiet failures get expensive
Steering upgrades get overlooked until something fails on the trail. On a lifted rig with larger tires, the steering system takes more stress than factory engineering anticipated. The angles change, the mechanical leverage increases, and the linkage — tie rods, drag links, and the joints connecting them — absorbs the result.
Standard OEM tie rod ends are adequate for stock vehicles on paved roads. Once you’ve lifted the suspension and moved to heavier tires, the articulation demands on those joints increase substantially. The ball-and-socket geometry that works fine on pavement starts binding at suspension extremes — and on a lifted rig, that happens at ordinary trail conditions, not edge cases.
Spherical rod ends offer greater articulation range and higher load tolerance than conventional tie rod ends, which is why they’re standard in serious off-road builds, rock crawlers, and custom 4-link suspensions. Material matters as much as design: stainless steel spherical rod ends resist corrosion significantly better than carbon steel equivalents in the wet, muddy, and abrasive environments that overland travel involves. Grades like 17-4 PH stainless maintain their structural integrity through the sustained moisture exposure that makes standard steel rod ends a liability on long-distance trips.
The practical trade-off is maintenance interval. Rod ends without PTFE lining require periodic greasing. Lined versions extend service intervals at higher initial cost. For extended travel where access to tools and grease is limited, lined rod ends tend to pay for themselves well before the trip is over.
Undercarriage armor: match the material to the terrain
Skid plates and rock sliders aren’t a single decision — they’re a system matched to your actual terrain and your build’s weight budget.
Steel plating is appropriate for technical rock crawling where direct boulder contact is expected. The cost is weight: a full coverage skid system — front skid, transmission, transfer case, and fuel tank — in 3/16-inch steel typically adds 80–160 lbs on a mid-size or full-size truck. That compounds against fuel range and suspension load over an extended trip.
For most overlanding use — dirt roads, loose rock, river crossings, occasional embedded obstacles — aluminum skid plates offer adequate protection at meaningfully lower weight. 6061-T6 aluminum at 1/4-inch thickness handles typical overland impacts while saving roughly 30–50% of the equivalent steel weight. According to Expedition Overland’s build documentation, aluminum is the preferred choice for longer expedition travel precisely because weight savings compound across days of driving.
Priority order for coverage: oil pan and transmission (highest failure cost), fuel tank (especially relevant on loaded builds with reduced ground clearance), transfer case. Differential skids are useful in technical terrain but lower priority for general overland use.
One modification that belongs in this conversation and rarely gets mentioned: differential and transmission breather extensions. When a hot differential hits cold water in a river crossing, it creates a pressure differential that can draw water into the housing through the breather. Extending those breathers above the water line costs almost nothing and prevents a failure that costs thousands.
Build for the mission, not the build list
The clearest framework for an overland build is simple: define the terrain and the duration, then work backwards to the modifications that serve those requirements.
A truck built for a week on gravel roads needs different suspension, different protection, and different priorities than one heading into extended backcountry travel with no support available. The best builds aren’t the most modified — they’re the ones where every modification has a specific job. Suspension matched to real load. Spacers that improve stability without compromising bearing life. Steering linkage that handles full suspension articulation without binding. Armor placed where the ground is actually going to make contact.
Everything else — the lighting, the drawer systems, the fridge, the satellite communicator — matters too. But it all sits on top of that mechanical foundation. Get that right first.
-

 NEWS12 months ago
Historical Churches in Manila
-

 TOPIC12 months ago
Symbols of Hope: The 15th Belenismo sa Tarlac
-

 TOPIC12 months ago
RIZAL at 160: a Filipino Feat in Britain
-

 TOPIC12 months ago
“The Journey Beyond Fashion” – Ditta Sandico
-

 TOPIC5 days ago
Unveiling AvTub: Your Ultimate Guide to the Best AV Content
-

 TOPIC12 months ago
5 Must-Have Products From Adarna House to Nurture Your Roots
-

 TOPIC12 months ago
Filipino, alternative language course at Moscow State University
-

 TOPIC12 months ago
“Recuerdos de Filipinas – Felix Laureano”